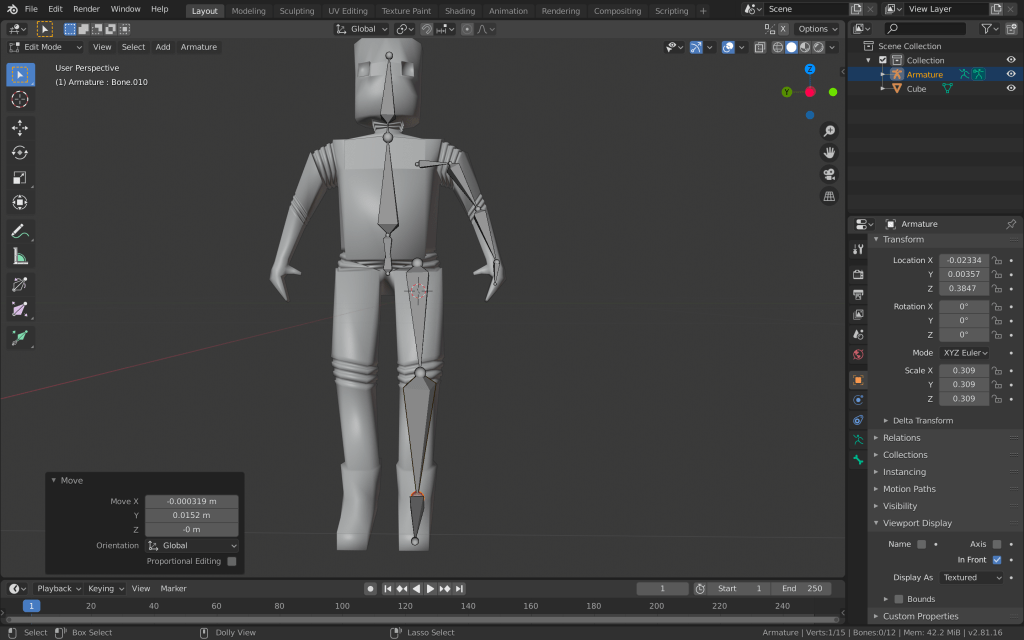
I was done with modelling and texturing the robot, so it was time to add an armature and to create some animations. I started with adding an armature object to my blender scene. This added a single bone, which I had to scale and place inside the robot mesh. I placed this bone in the centre of the torso and extruded four more bones from it- for the hip area, chest, neck and the head.

I kept the first bone rotated downwards, so I could use it later as a controller bone. I also added bones to the arm and leg. I did only one side, so I can once spare time and later make use of blender’s ability to symmetrise.
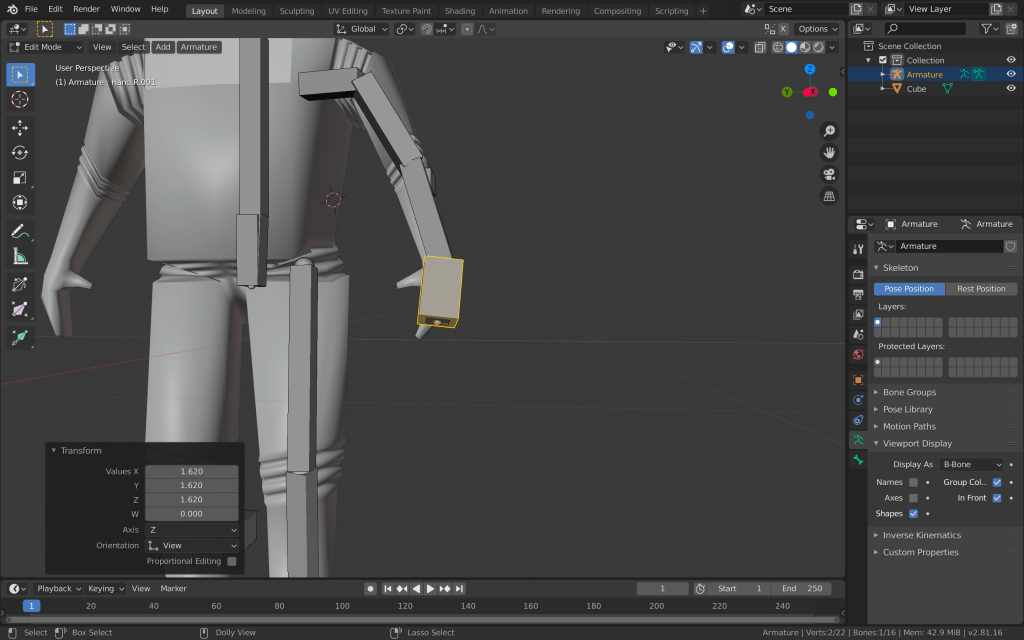
After placing all of the bones I need for now, I started adding some controller bones, which are going to make it easier for me later when I am posing the armature for animating. I placed them at the end of the hand, leg and opposite the elbow and knee. Some of them were hard for me to select, so I switched to B-Bones and scaled up the controller bones.
After that, I started adding the bone constraints. I used inverse kinematics, as it is the most intuitive and easy to use for an armature like this.

I aslo applied the copy rotation constraint to the hand and foot bones, so I could control their rotation and the rotation of the linked bones, with the controller bones. After making sure each bone is named correctly, as it is vital for the symmetrising, turned on X-Axis mirror and enforced symmetry. Then, I selected the mesh and made it a parent of the armature with automatic weights. After playing around with the pose mode however, I found out that some bones affect too much some parts of the robot. That’s why I went to weight paint mode and adjusted the weight of some of the vertex groups.
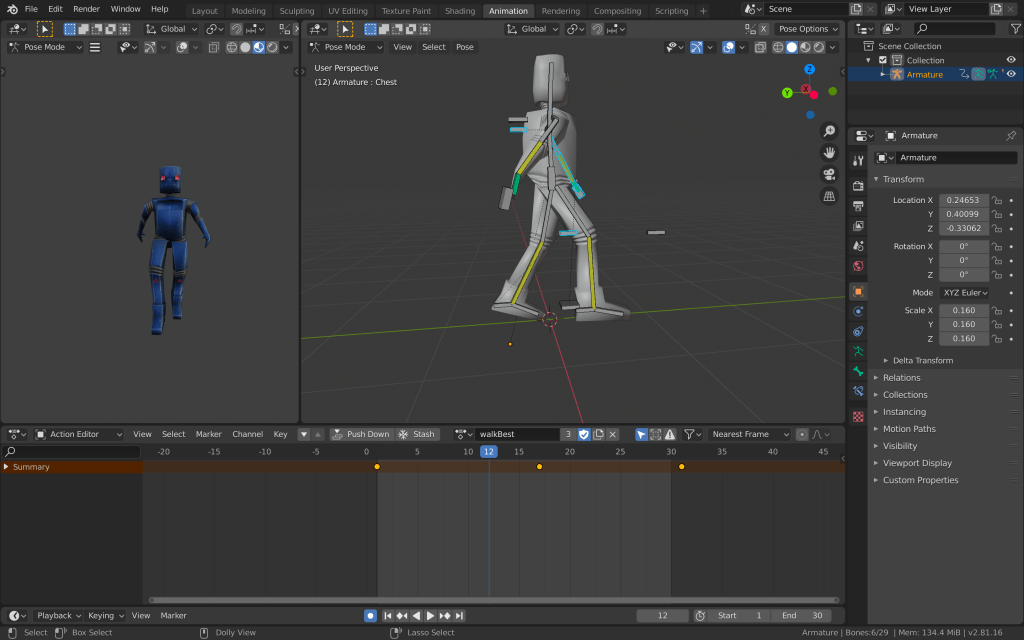
I created a new action for the walking animation of the robot. I set the sequence to 30 frames and went to pose mode. I placed one leg in front of the other, adjusted the body and hands accordingly and added a keyframe to the first frame of the sequence. Then I copied this position, went to just after the end of the sequence and pasted it, adding another keyframe there. Then I moved to the middle of the sequence and added another one, with the opposite position. This way, I was able to achieve a simple but effective loop of a walking animation.
I also added simple idle and a dying animation using similar methods.
After I was done, I once again exported the file to unity to make sure all the animations import correctly.
